
This Prototyping Webinar from CCWB Contributors Overlap Associates will help you understand the process of prototyping and how to put on a prototyping workshop.
This Prototyping module walks you step-by-step through the process of creating and testing prototypes. A workshop is just one of many ways you can approach the prototyping process.
Prototyping produces low-cost/no-cost representations of programs, services, and products in ways that make it easy for people (end users) to share feedback, ideas, and perspectives on what you’ve built.
We’ve simplified it into 3 key steps:
Preparing for Prototyping
Creating Low-Fidelity and High-Fidelity Prototypes
Sample Prototyping Activity
The instructions below also provide information on the materials you might need to run a prototyping session with clients and community members.
Review the principles of prototyping


Prototyping: Building and Testing
“If a picture is worth a thousand words, then a prototype is worth a thousand meetings.” (IDEO)
The Institute of Design at Stanford’s (d.school) encourages a “bias towards action”, where building and testing is valued over thinking and meeting.
Prototyping is an approach that moves a project toward action through the production of early, inexpensive, and scaled down versions of the product, program, or service to reveal problems with the current design.
Prototyping brings ideas to life, tests their practicality, and highlights how a sample of end users might think and feel about what you’ve created. In design thinking, designers use prototypes to observe, record, judge, and measure an end user’s general behavior, interactions, and reactions to the overall design.
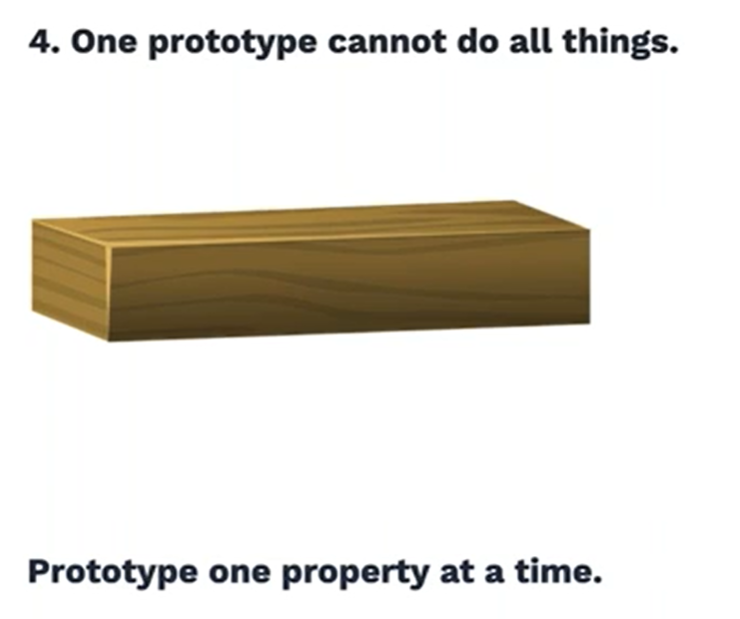
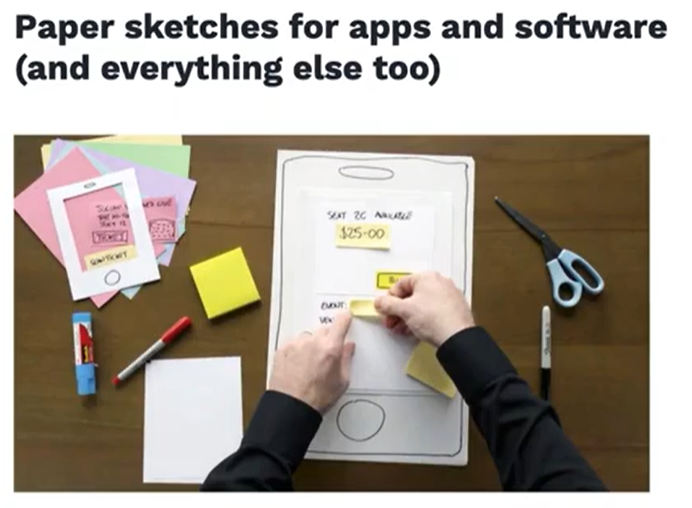
Prototypes can take many forms, but they should always be a tangible representation of an idea or solution. Simple sketches and storyboards, rough paper prototypes of online interfaces, or role-playing to act out a service are all examples of prototypes. You can also limit a specific prototype to a part of a solution, so that you can test individual features with end users.


Low-Fidelity vs. High-Fidelity Prototypes
Low-Fidelity (low-fi) prototypes are the usual option during the early stages of a project. You can use storyboarding, sketching, models, and role-playing to quickly and inexpensively iterate on a particular solution. Lo-fi prototypes are disposable and should use minimal time and effort.
If you’re working on program or service design, try to use one of these templates to get started with prototyping. Use the “Google Image Search” function in Miro to find other templates to help structure your sketching and lo-fi prototyping.


High-Fidelity (high-fi) prototypes are built by incrementally making changes to a lo-fi prototype by focusing on finer details over multiple iterations. High-fi prototypes will gradually look and operate closer to the finished product. This level of detail will highlight how people will respond to, interact with, and perceive the design.
By making an interactive prototype, higher-fidelity versions bring you closer and closer to the final design in terms of details and functionality. The process forces us (the designers) to think more clearly about the usability of the program or service for intended end users.
Use your low-fidelity sketches to review the user flows that make up your prototype
Identify the visual, digital, and in-person ‘details’ that will support clients/end users in each user flow
Choose a starting point to develop a higher-fidelity prototype, typically the most important/impactful aspects of the program or service
Review the photos below to build a stronger understanding of how to build higher-fidelity prototypes from your low-fi sketches.


Examples and Insights on the Prototyping Process
An overview of rapid prototyping
Using a Journey Map to visually represent a process from the client perspective.
From problem -> sketch -> design blueprint -> prototype -> product -> improvement
An expecting mother reviewing and giving feedback on a 'story board’


How did they do it?
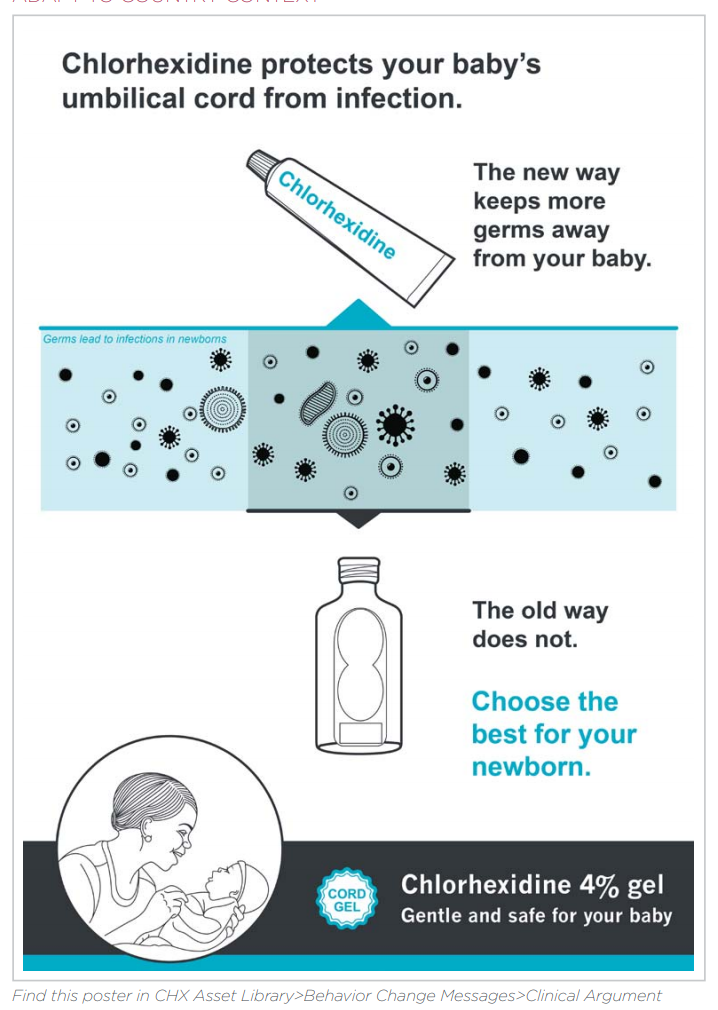
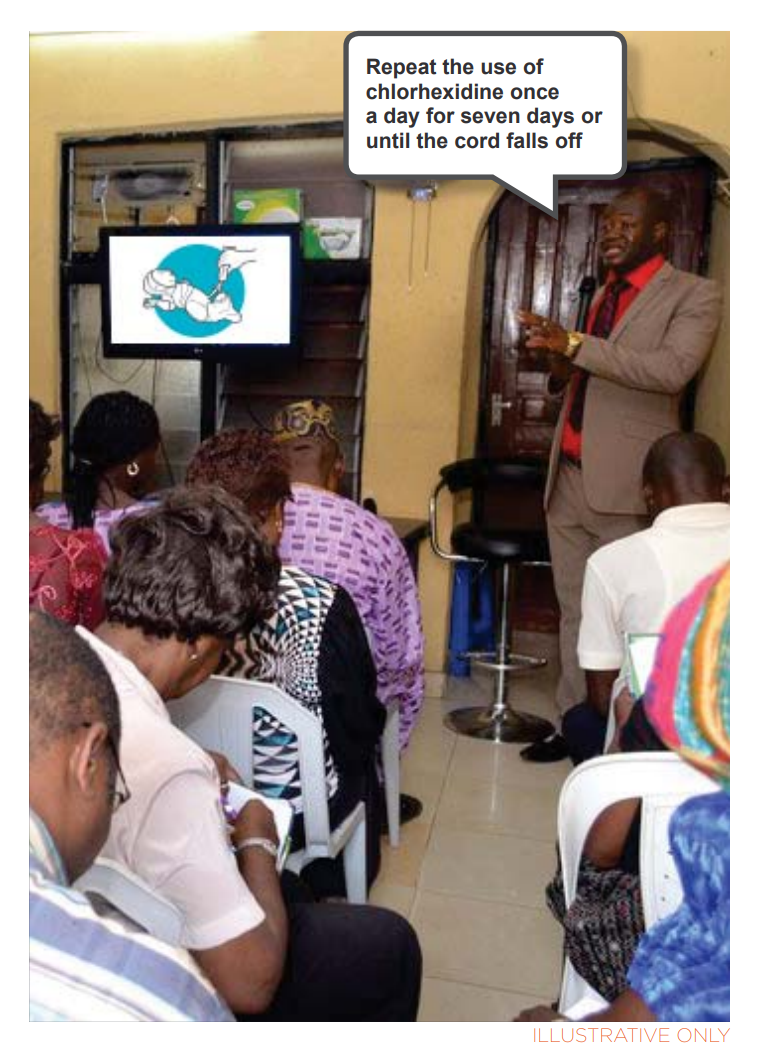
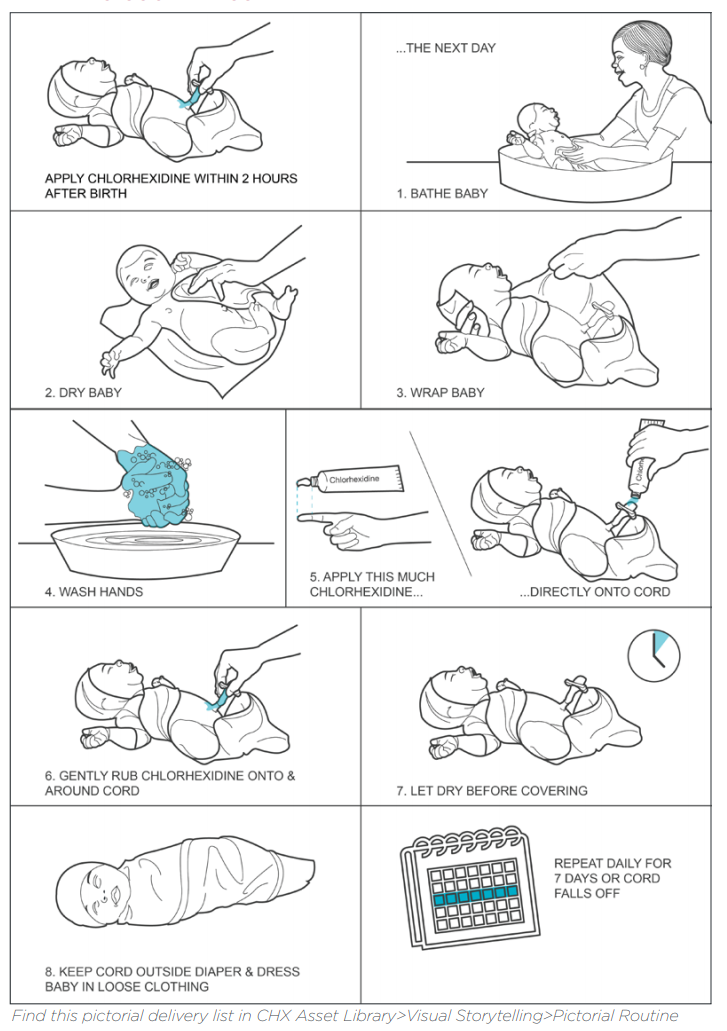
Review this human-centered design project from USAID focused on improving maternal health and improving birth outcomes. Notice how they create a variety of different low-fidelity prototypes before building out their toolkit for community health workers in Nigeria.
A sample prototyping activity:
Before the Activity
Send out invites to children, family and caregivers, as well as providers who may be interested in prototyping ideas. Ensure clarity of session purpose
Send out appropriate session materials in advance (e.g., output from Ideation sessions)
Choose a session leader and ensure that they feel confident to facilitate the session
Distribute any summaries that emerged from your Ideation sessions.
Activity Materials
Printed copies of any Ideation session materials and a few copies of the Insights Report
White and colored paper
Pens, markers, pencils, crayons
Craft materials (e.g. pipe cleaners, scissors, glue, string, fabric, stickers, Play-Doh)
Magazines and other images for collaging
Dot stickers for prioritizing
Participant sign-in list (if they wish to receive follow-up communication
During the Activity
In groups of 3-4 people:
Decide on one idea to prototype (dot vote, if needed)
Prototype! Take time to build out the idea. Work individually, in pairs, or as a larger group
Get feedback from other groups in the room using the Feedback Grid; Incorporate feedback and revise your prototype(s)
Build a plan for getting more feedback from clients and community members; follow the plan and collect more feedback using the grid
Incorporate feedback and revise your prototype(s) again
End with a group reflection:
End with a group reflection (and take notes):
What did we do today?
What was a high point/low point?
Did you have any learnings or “aha” moments?
What is a takeaway from today that you want to carry forward?
The ORID Framework is a useful approach to facilitating a group reflection:
Objective - What did we do today?
Reflective - What is your gut reaction to the events? High points or low points?
Interpretive - So What? Why is this important for what we do?
Decisions - Now what happens? What specific steps will we take after this session?
After the Workshop
Take a photo of the prototypes and document all plans for getting more feedback
Send a follow-up email thanking participants for their participation. Make sure to include notes from the reflection, and clearly-defined next steps (from the Decisions portion of the reflection)
Looking for inspiration on prototyping?
Feel free to start with the example structure shared by Co-Creating Well-Being. Other methods and examples of prototyping activities are available from Design Kit, Overlap Associates, and Aging By Design.